How To: Roasted Garlic
We are big fans of garlic around here. If you browse through the recipe index, you’ll find that I rarely cook without it. In fact, since I mince or slice up several cloves on an almost daily basis, my fingertips smell distinctly of garlic more than 90% of the time. And I’m not ashamed to admit that I like it.
I love garlic for all that it is just as it is, but I’d be lying by omission if I didn’t also tell you that I love it even more for what it can become. With a teeny bit of prep work and a little bit of time in a toasty hot oven, garlic goes from being wonderfully potent and pungent to meltingly buttery-sweet. Roasted garlic, my friends, is something that no cooking repertoire should be without. It’s too easy and it makes even the most simple dishes groan-worthy.
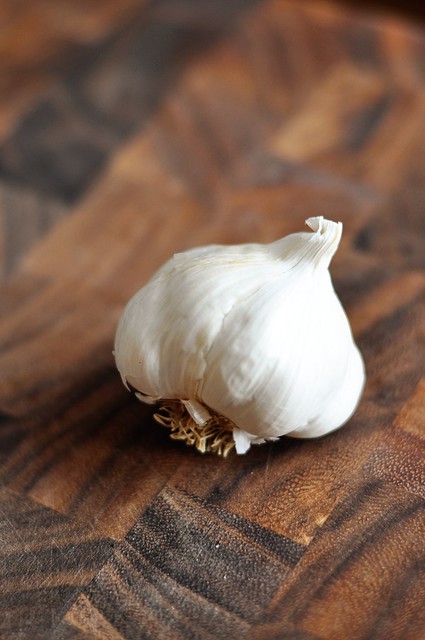
Start with a whole head of garlic. When selecting garlic, look for firm, tight heads. They should feel solid and just a little heavy. Feather-light heads with dry, splayed cloves are past their prime.
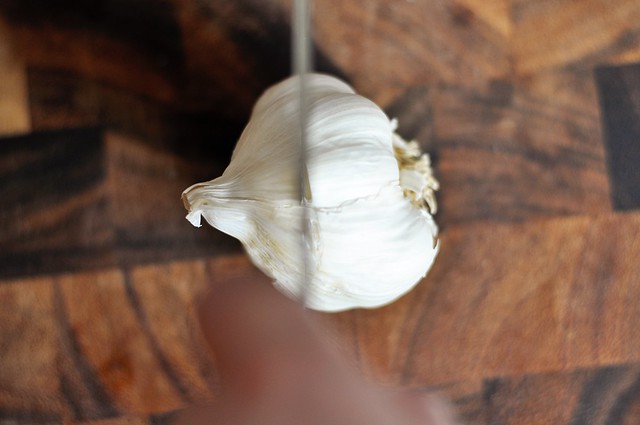
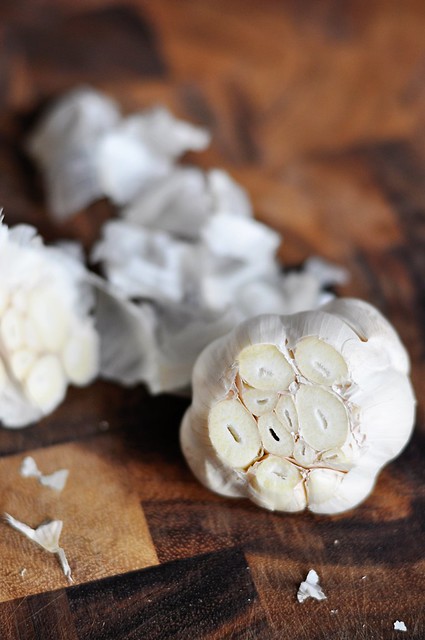
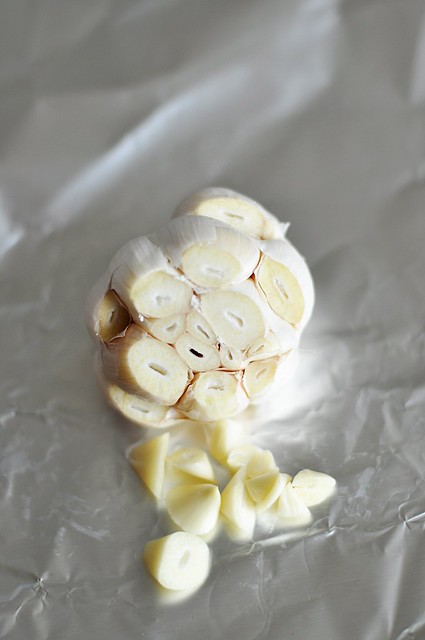
Set the head of garlic on its side. Using a sharp knife, cut off the top third of the head.
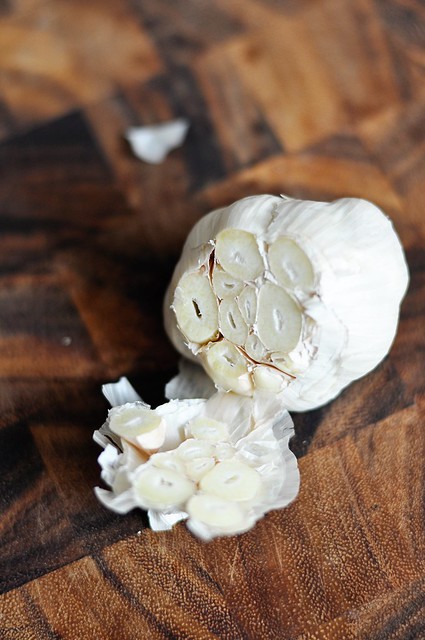
See how the cloves are exposed?
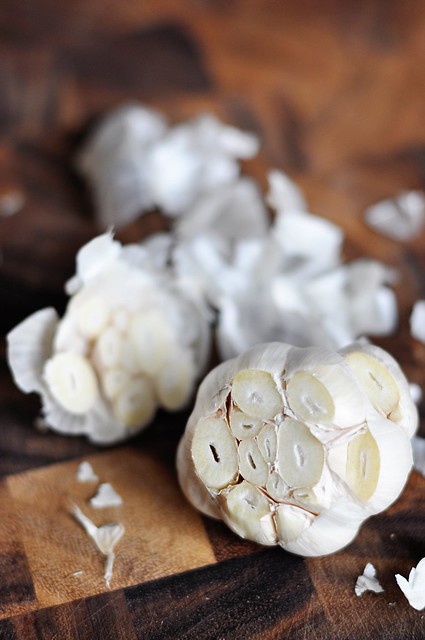
Now, go ahead and peel off the loose, excess skin. It’s going to start coming off on its own anyway and peeling it down to just a layer or two will make the process neater. With the skin thinned, take note of any remaining cloves of garlic that are not yet exposed.
Heads of garlic can be irregularly shaped, with some of the cloves sitting a bit lower than the rest. Use the tip of your knife to pop off the tops of those cloves so that they’re exposed as well. If you choose a head of garlic that is more evenly-shaped you won’t have to worry about this.
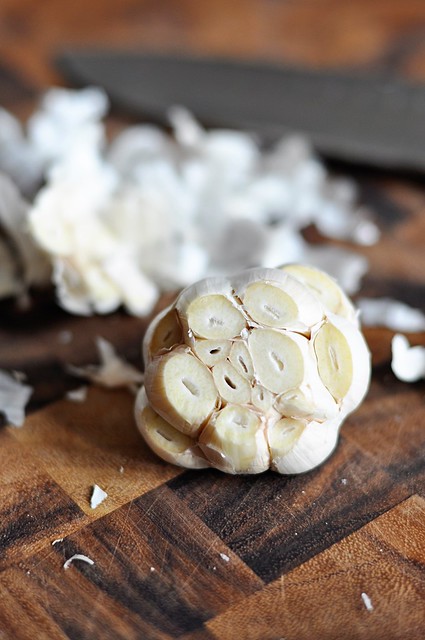
The finished head should look something like this. You’ll see why you want all those cloves opened up like that in a minute.
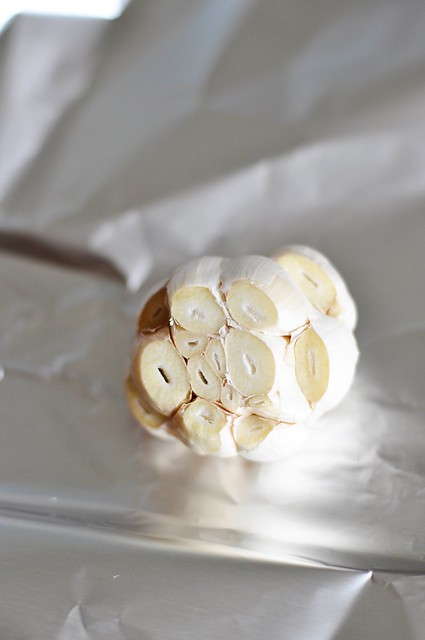
Place the prepared garlic on a piece of foil.
You don’t have to do this, but since I’m such a garlic fiend and want to eek every ounce of garlicky wondrousness out of this process, I like to take all the tops of the cloves that we’ve just removed and go ahead and tuck them in there too. Again, totally optional.
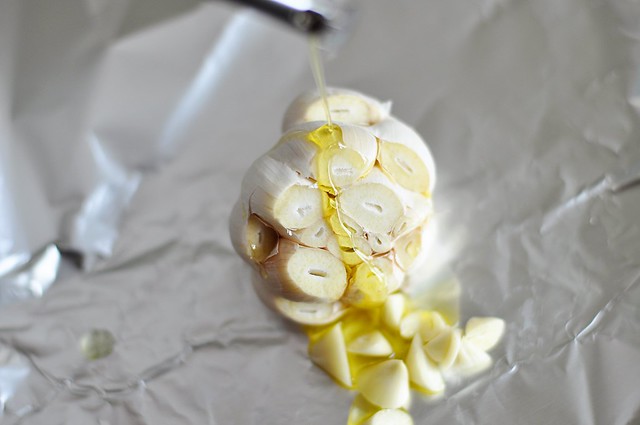
Now, drizzle your garlic with some olive oil.
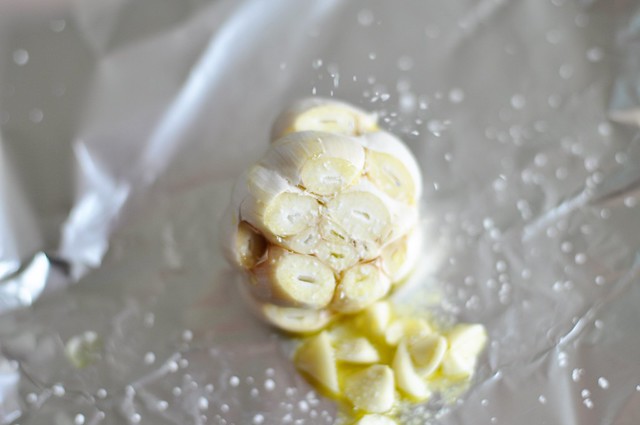
And sprinkle it with a good pinch of Kosher salt. Go ahead and crack in some pepper too if you’re feeling it.
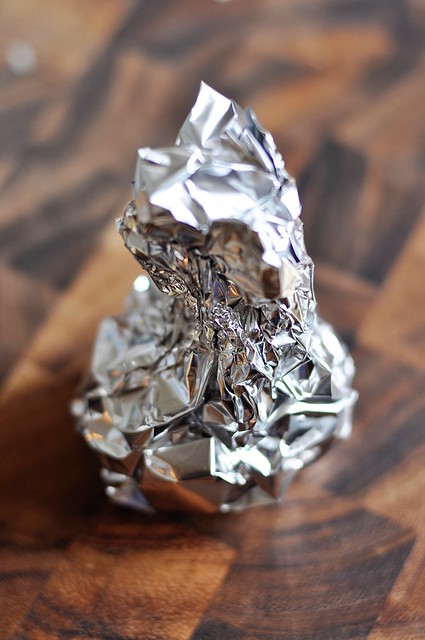
Gather all the corners of the foil together and wrap it around the garlic to make a little package. Pop that little bundle into an oven preheated to 425 degrees for 45 minutes. Try not to faint in ecstasy once the smell takes over your kitchen. Remove the garlic from the oven and let it hang out until its cool enough to handle. Or, if you’re impatient and possess a lack of regard for your own personal safety, like me, wait about a minute and dive in.
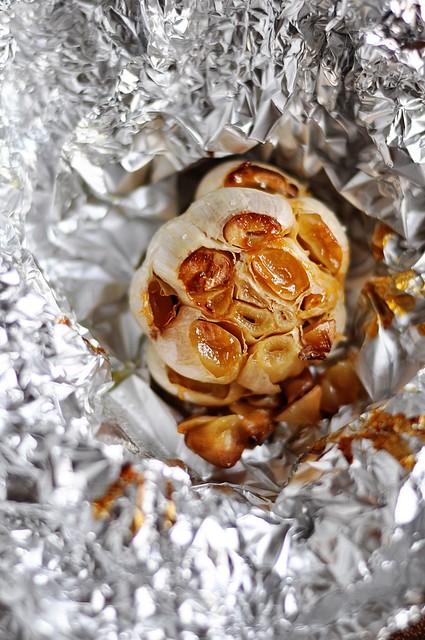
Unwrap the…oh yes. That’s the good stuff.
Now grab yourself a bowl and pick up the good stuff.
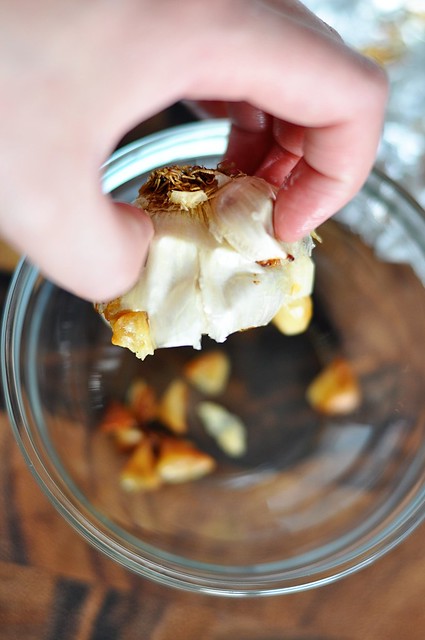
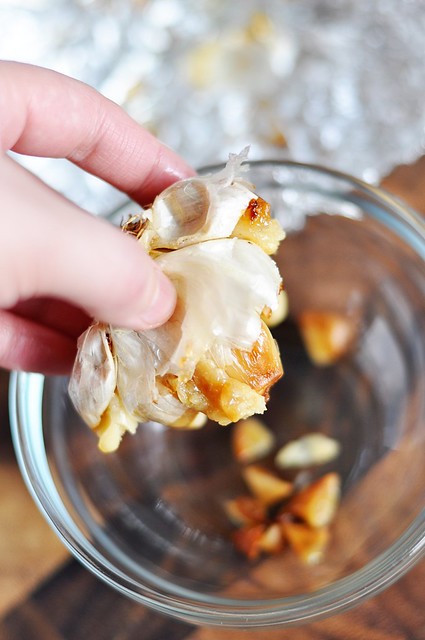
Invert it over the bowl…
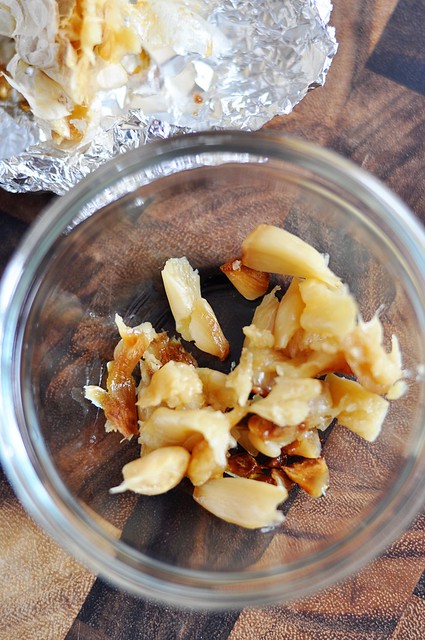
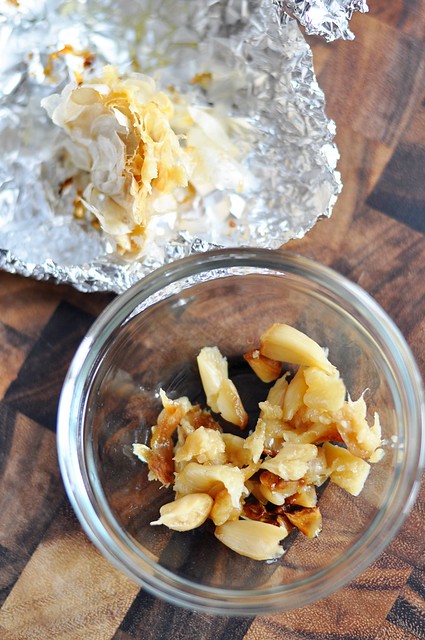
…and squeeze and smush out all that gooshy garlic goodness until all you have left are the empty, papery skins. (This is why we wanted to lop the tops of each and every one of those cloves, so we could just turn it over and squeeze it all out at the end.)
And that’s it. Roasted garlic.
Now, don’t worry about having a whole head’s worth of this stuff at your disposal. The flavor of roasted garlic is super mild and mellow and you can use the whole lot at once without fear. Mash it into potatoes, blend it into bean dip, make roasted garlic toasts, or run a knife through it a couple times, turning it into a paste, and stir it into your favorite tomato sauce. For that matter, stir it into your favorite cheese sauce–roasted garlic mac, anyone? In our kitchen, we like to smash it up with roasted eggplant and caramelized cherry tomatoes, until they all blend together, and toss in some fun, short-cut pasta and a chiffonade of basil.
Give roasted garlic a go the next time you’re contemplating making something with regular old garlic. You just may come to love that recipe–and garlic–in a whole new way.



4 comments:
What a great post. The descriptions you give along with the photos almost make me smell garlic through my computer monitor!
Did you know that if you run your fingers over any stainless steel object it will remove the garlic or onion smell from them? They sell blocks of it for a hefty price for this purpose. All you need is a stainless steel knife,spoon,bowl, etc. that you already own!
Barb, I did know that! My mom actually bought me a hunk of stainless steel cheekily shaped like a bar of soap exactly for that purpose. It sits on the edge of my sink purely for decoration, though–I really do like that my fingers smell like garlic! I know..weirdo.
How long can the roasted garlic be stored and what is the best way to store it?